I made this website for my wedding in November 2017 and thought of open-sourcing it on my 1st anniversary. I honestly had put a good amount of time developing it so reckoned this effort may help others save some of their time. Hope you guys like it.
Before diving into the details of how can you use this website for free and how to customize it for your wedding or other events, let me first highlight the features I’ve added in this website:
- Slick and fully responsive design.
- RSVP feature which directly uploads data to a Google sheet.
- Receive email alerts when someone RSVPs.
- Add to Calendar feature which supports four different calendars.
- Book Uber button lets guests book a cab to the venue with just a single tap.
- A nice Youtube video showing your venue.
- Google Map showing your venue’s location.
- Start and run the website completely free. No hosting, backend server, or database required as you can use GitHub Pages to host and Google sheets (with the help of Google scripts) to store RSVP data.
I made this website using Twitter’s Bootstrap Framework––one of the famous and widely used. Ergo, if you know Bootstrap then you can easily customize, align the elements differently, or override the CSS styles, etc. I have leveraged the Bootstrap Grid System to make this device agnostic so that your guests can simply open your wedding website on their mobile phones or tablets and RSVP. You can even see a live demo of how the site looks on different devices.
The RSVP feature is that one feature for which many develop a website in the first place. It is also this feature that makes a normal website expensive as it generally involves some kind of backend or database to store the data. You could either code your own backend or use a BaaS product like Firebase, Parse, Back4App, etc. However, these are all paid and will cost you money. So, I thought of an idea before starting to develop my website. What if I could store the data in Google Sheets for Free? Does Google provide some kind of API? And voila, after a quick search I came across Google Scripts. With the help of scripts, you easily get a REST API which you can call from your website to store data in Google Sheets.
There are 4 things here:
- HTML Form
- The Javascript code to submit the form
- Google Sheet
- Google Script
<form id="rsvp-form" class="rsvp-form" action="" method="POST">
    <div class="row">
        <div class="col-md-6 col-sm-6">
            <div class="form-input-group">
                <i class="fa fa-envelope"></i>
                <input type="email" name="email" class="" placeholder="Your email" required>
            </div>
        </div>
        <div class="col-md-6 col-sm-6">
            <div class="form-input-group">
                <i class="fa fa-user"></i>
                <input name="name" class="" placeholder="Your name" required>
            </div>
        </div>
    </div>
    <div class="row">
        <div class="col-md-6 col-sm-6">
            <div class="form-input-group">
                <i class="fa fa-users"></i>
                <input type="number" name="extras" class="" min="0" max="4" placeholder="Husband/Wife or kids" required>
            </div>
        </div>
        <div class="col-md-6 col-sm-6">
            <div class="form-input-group">
                <i class="fa fa-key"></i>
                <input type="number" name="invite_code" id="invite_code" class="" min="0" placeholder="Invite code" required>
            </div>
        </div>
    </div>
    <div class="row">
        <div class="col-md-12" id="alert-wrapper"></div>
    </div>
    <button class="btn-fill rsvp-btn">
        Yes, that's me!
    </button>
</form>
HTML Form
The above HTML is taken from the wedding website. You can easily customize it as per your needs. Note the id of the form though as we would need it in our javascript code.
Below is the javascript code to submit the form to the Rest API:
/********************** RSVP **********************/
$('#rsvp-form').on('submit', function (e) {
    e.preventDefault();
    var data = $(this).serialize();

    $('#alert-wrapper').html(alert_markup('info', '<strong>Just a sec!</strong> We are saving your details.'));

    if (MD5($('#invite_code').val()) !== 'b0e53b10c1f55ede516b240036b88f40'
        && MD5($('#invite_code').val()) !== '2ac7f43695eb0479d5846bb38eec59cc') {
        $('#alert-wrapper').html(alert_markup('danger', '<strong>Sorry!</strong> Your invite code is incorrect.'));
    } else {
        $.post('https://script.google.com/macros/s/AKfycbzUqz44wOat0DiGjRV1gUnRf4HRqlRARWggjvHKWvqniP7eVDG-/exec', data)
            .done(function (data) {
                console.log(data);
                if (data.result === "error") {
                    $('#alert-wrapper').html(alert_markup('danger', data.message));
                } else {
                    $('#alert-wrapper').html('');
                    $('#rsvp-modal').modal('show');
                }
            })
            .fail(function (data) {
                console.log(data);
                $('#alert-wrapper').html(alert_markup('danger', '<strong>Sorry!</strong> There is some issue with the server. '));
            });
    }
});
Javascript code that is invoked when form is submitted
We use the form id and attach a submit event listener to it. This means that whenever the submit button in the form is clicked, this code will get invoked. We then get the form data and store it in, well you guess it right, in data variable. I’ve used MD5 encryption for the invite code. This is to prevent anyone knowing the invite code easily. I know that one can modify the javascript code on the client-side and submit the data which is why I’ve added validation in the Google Script too. Now, if the invite code is correct then we POST the data to a url, i.e, Google Web App Url which we will discuss later. Finally, we get a response from the Google Script and update our UI.
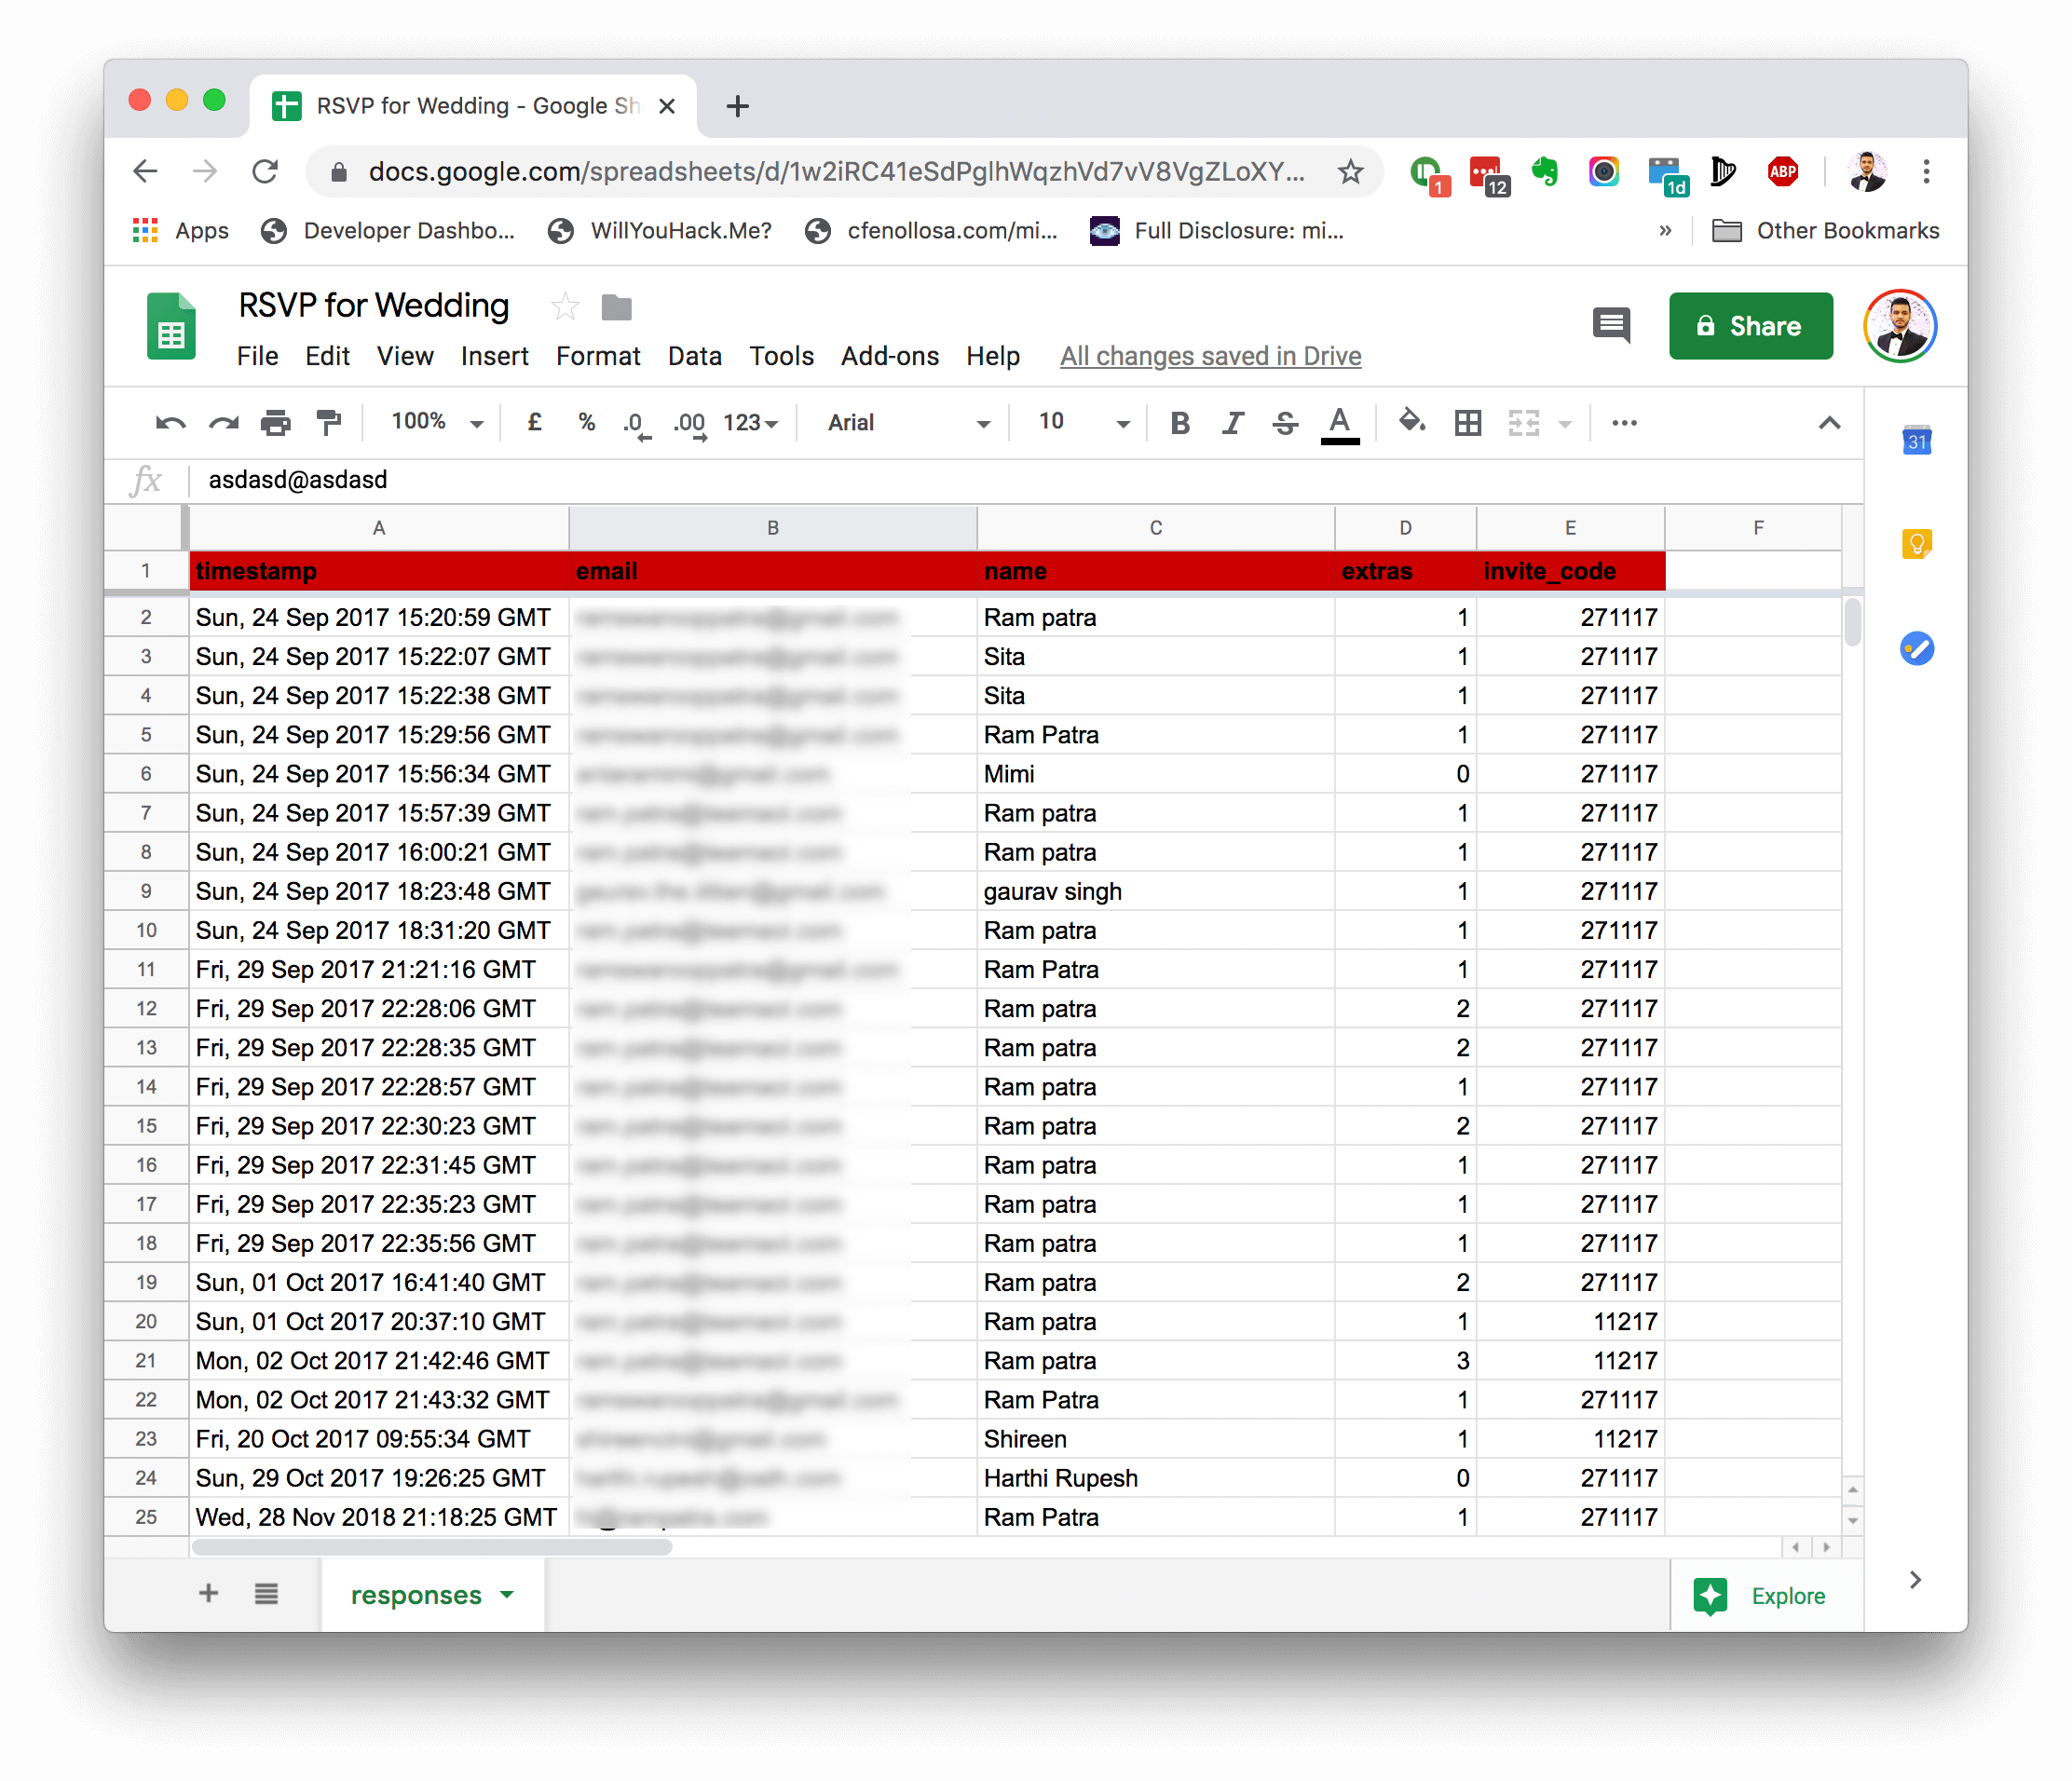
Let’s create the Google Sheet. You can easily create one at docs.google.com/spreadsheets. The sheet should look like the one shown below with 5 columns and one row as the header. Please, note that the column names are case-sensitive.
After you create the sheet, you can go to Tools > Script Editor and paste the below code:
var TO_ADDRESS = "[email protected]"; // email to send the form data to

/**
 * This method is the entry point.
 */
function doPost(e) {

  try {
    Logger.log(e); // the Google Script version of console.log see: Class Logger

    var mailData = e.parameters; // just create a slightly nicer variable name for the data

    if (mailData.invite_code != "271117") { // validate invite code before saving data
      Logger.log("Incorrect Invite Code");
      return ContentService
          .createTextOutput(JSON.stringify({"result":"error", "message": "Sorry, your invite code (" + mailData.invite_code + ") is incorrect."}))
          .setMimeType(ContentService.MimeType.JSON);
    }

    record_data(e);

    MailApp.sendEmail({
      to: TO_ADDRESS,
      subject: "A new guest RSVP'd for your wedding",
      replyTo: String(mailData.email), // This is optional and reliant on your form actually collecting a field named `email`
      htmlBody: formatMailBody(mailData)
    });

    return ContentService    // return json success results
          .createTextOutput(JSON.stringify({"result":"success","data": JSON.stringify(e.parameters) }))
          .setMimeType(ContentService.MimeType.JSON);
  } catch(error) { // if error return this
    Logger.log(error);
    return ContentService
          .createTextOutput(JSON.stringify({"result":"error", "message": "Sorry, there is an issue with the server."}))
          .setMimeType(ContentService.MimeType.JSON);
  }
}


/**
 * This method inserts the data received from the html form submission
 * into the sheet. e is the data received from the POST
 */
function record_data(e) {
  Logger.log(JSON.stringify(e)); // log the POST data in case we need to debug it
  try {
    var doc     = SpreadsheetApp.getActiveSpreadsheet();
    var sheet   = doc.getSheetByName('responses'); // select the responses sheet
    var headers = sheet.getRange(1, 1, 1, sheet.getLastColumn()).getValues()[0];
    var nextRow = sheet.getLastRow()+1; // get next row
    var row     = [ new Date().toUTCString() ]; // first element in the row should always be a timestamp
    // loop through the header columns
    for (var i = 1; i < headers.length; i++) { // start at 1 to avoid Timestamp column
      if(headers[i].length > 0) {
        row.push(e.parameter[headers[i]]); // add data to row
      }
    }
    // more efficient to set values as [][] array than individually
    sheet.getRange(nextRow, 1, 1, row.length).setValues([row]);
  }
  catch(error) {
    Logger.log(error);
    Logger.log(e);
    throw error;
  }
  finally {
    return;
  }
}


/**
 * This method is just to prettify the email.
 */
function formatMailBody(obj) { // function to spit out all the keys/values from the form in HTML
  var result = "";
  for (var key in obj) { // loop over the object passed to the function
    result += "<h4 style='text-transform: capitalize; margin-bottom: 0'>" + key + "</h4><div>" + obj[key] + "</div>";
    // for every key, concatenate an `<h4 />`/`<div />` pairing of the key name and its value,
    // and append it to the `result` string created at the start.
  }
  return result; // once the looping is done, `result` will be one long string to put in the email body
}
Google Script
After you paste the above code, you can save it and follow the instructions from here to publish your Rest API. Once the web app is published, you can submit the form on your website and see the data getting inserted into the sheet. You would also receive an email whenever your guest RSVPs. We come to an end of the “most complex” feature of all. If you’re done with this then others would hardly take any time so read ahead.
The “Add to Calendar” feature appears after one RSVPs. This is handy so that your guests do not have to manually add each and every detail about your event to their calendar. Instead, they can do all of that with a click of a button. Currently, this website supports 4 calendars, i.e, Google, Yahoo, Apple, and Microsoft.
/********************** Add to Calendar **********************/
var myCalendar = createCalendar({
    options: {
        class: '',
        // You can pass an ID. If you don't, one will be generated for you
        id: ''
    },
    data: {
        // Event title
        title: "Ram and Antara's Wedding",

        // Event start date
        start: new Date('Nov 27, 2017 10:00'),

        // Event duration (IN MINUTES)
        // duration: 120,

        // You can also choose to set an end time
        // If an end time is set, this will take precedence over duration
        end: new Date('Nov 29, 2017 00:00'),

        // Event Address
        address: 'ITC Fortune Park Hotel, Kolkata',

        // Event Description
        description: "We can't wait to see you on our big day. For any queries or issues, please contact Mr. Amit Roy at +91 9876543210."
    }
});

$('#add-to-cal').html(myCalendar);
The code above is pretty self-explanatory. Just edit the details with your event details keeping the format/syntax intact and you’re done. If you’re curious and want to customize more, it uses ouical.js for the “Add to Calendar” feature.
The “Book Uber” feature is nice to have especially in India where people use Uber a lot. Uber provides a Universal Deep Link API to book a cab to a location. You only need a clientId and you would be able to use the Universal Deep Link. When one clicks on this Url, the phone opens the Uber app and sets the destination automatically for you. All the user has to do is to hit the “Book” button and the cab is booked. The Universal Deep Link Url looks something like this:
https://m.uber.com/ul/?action=setPickup&client_id=<your_client_id>&pickup=my_location&dropoff[formatted_address]=<the_address_text>&dropoff[latitude]=<your_venue_latitude>&dropoff[longitude]=<your_venue_longitude>
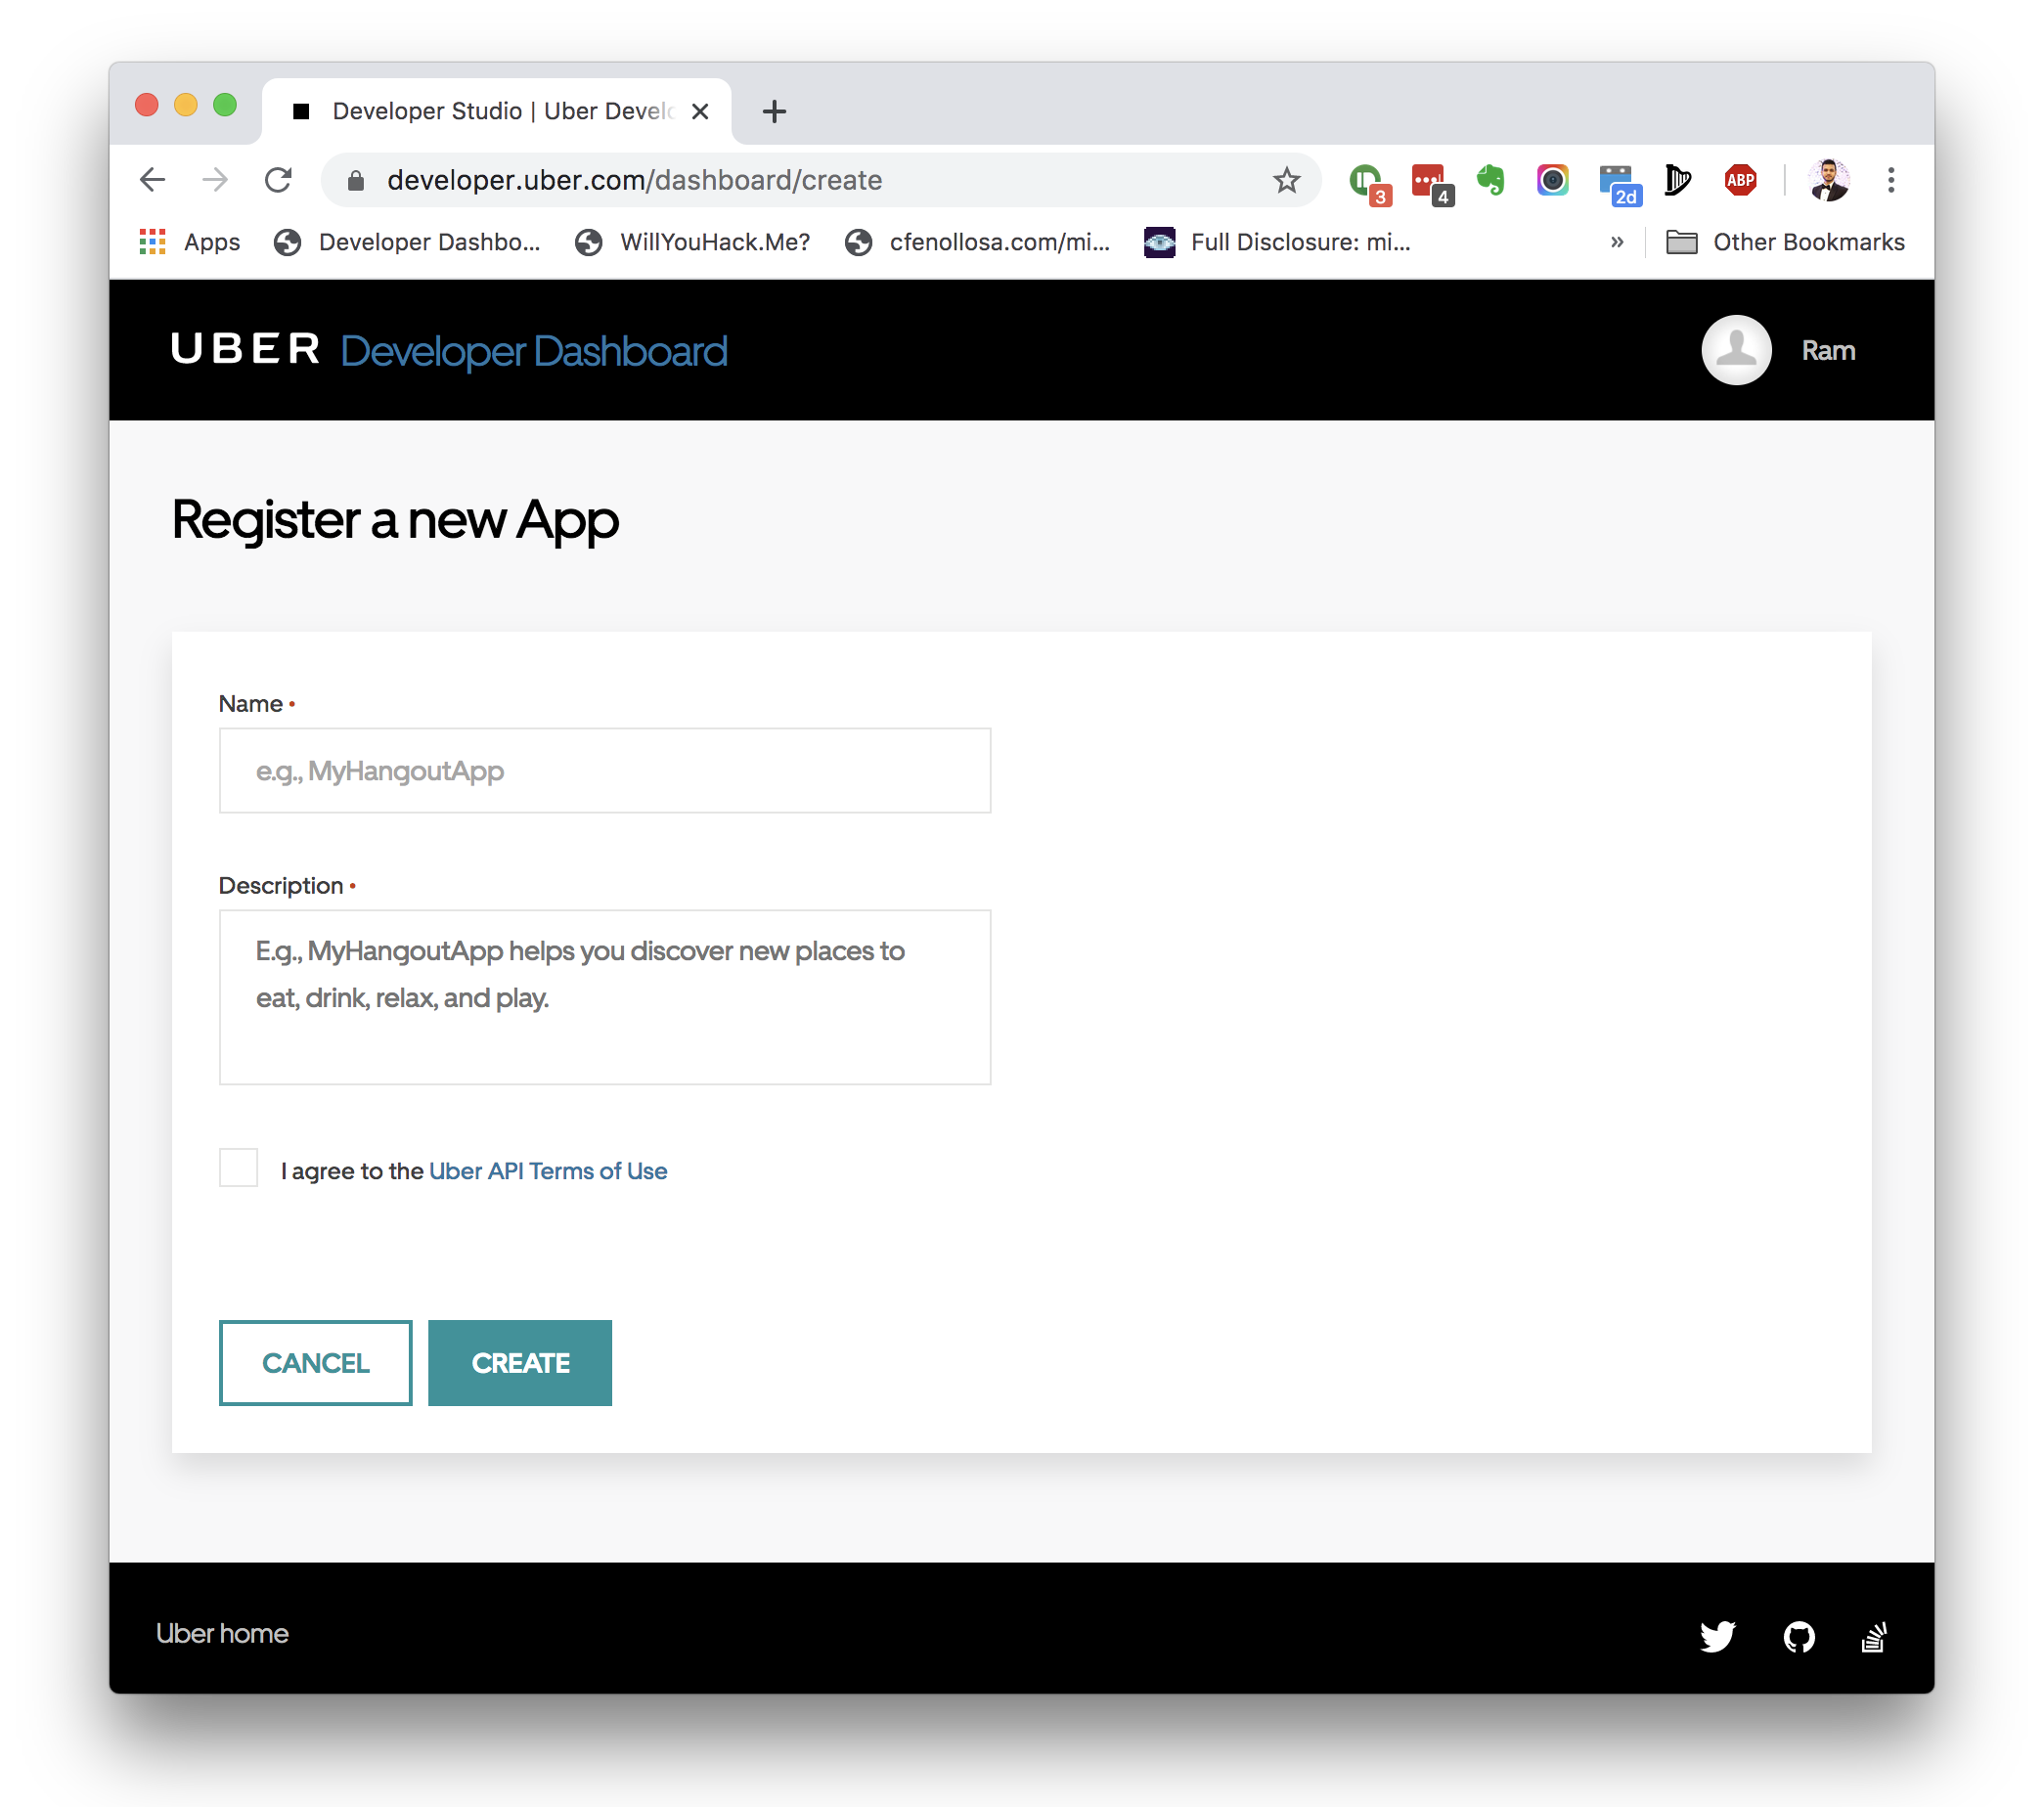
Replace <your_client_id> with your app’s client id. You need to create an app on developer.uber.com. After you create an app, you get your client id. It’s actually quite easy to create an app. You only have to provide a name and description. That’s it. See the screenshot below.
Replace <the_address_text> with the Address you want your guests to see on the app while booking the cab. Finally, replace <your_venue_latitude> and <your_venue_longitude> with latitude and longitude of your venue.
Now comes the Youtube video feature. This is trivial to customize. Simply open index.html and find the below code:
<section id="video-bg" class="hidden-sm hidden-xs">
    <div id="bgndVideo" class="player"
         data-property="{videoURL:'https://youtu.be/9giqL1H6yRs',containment:'#video-bg',autoPlay:true, mute:true, showControls:false, startAt:80, stopAt:259, opacity:1}">
    </div>
    <div id="video-content">
        <h5>Kolkata</h5>
        <p>City of joy</p>
    </div>
</section>
Here, you have to change the videoURL, of course, and then in the video-content div you can change the title and tagline. That’s all. Easy-peasy.
The Google Map widget is important so that your guests get an idea of the commute involved. The code for maps is below:
// Google map
function initMap() {
    var location = {lat: 22.5932759, lng: 88.27027720000001};
    var map = new google.maps.Map(document.getElementById('map-canvas'), {
        zoom: 15,
        center: location,
        scrollwheel: false
    });

    var marker = new google.maps.Marker({
        position: location,
        map: map
    });
}
You have to change the latitude and longitude in the location variable above, everything else would be taken of.
Last but not least, as the title of this blog post says “wedding website for free” we need to address the elephant in the room here. We made the website using my project, that’s all well and good but how and where do we host it? And how can the hosting be free? Well, as this website just uses HTML, CSS, and Javascript for all its features and doesn’t depend on backend servers or databases, there are many service providers that would host such a website for free. Some such providers are Github Pages, Gitlab Pages, Netlify.com, Zeit.co, Render.com, and the list goes on. Surprisingly all of them allow us to add a custom domain and provide free https support right out of the box. The main difference which concerns me in the free plan is the bandwidth per month. I think Github and Gitlab don’t have any but others do have. Refer to how I made my blog article for more details on the bandwidth limitations in each.
I chose Github Pages for my wedding website as I wasn’t using Jekyll or any other static site generators. I wouldn’t use Github Pages if only I were to use Jekyll with a lot of plugins. Github only allows a specific set of plugins. That’s the only drawback I find in Github Pages. Anyway, let’s talk about how would you host this website on Github. Please, follow the below steps for the same:
- Create an account on github.com
- Fork this repo to your account
- Make necessary changes to the website
- Go to settings and enable “Git Pages” and choose the branch as “master”
- That’s it, your website will be live in a few minutes. The url will also be shown in the settings section.
To recapitulate, we discussed all the features of my wedding website, how to customize each of them, and finally how to host the website on Github.com for free. For any questions or queries, please leave a comment below.
Demo: wedding.rampatra.com
Code: github.com/rampatra/wedding-website
PSD Files for Icons and Images: github.com/rampatra/wedding-website/tree/master/psd
P.S.: I am writing this blog post on my 2nd anniversary and was overwhelmed with the feedback from the community on Hacker News and Reddit when I first launched it. Thank you all 🙏.